Create the first subscribers
Now that you have finished the basic settings and created the first mailing list, it is time to create a test subscriber in your system. We suggest that you pick someone from your company as a test subscriber, so as not to bother your real subscribers with tests. First of all, you should make yourself a subscriber, using your personal e-mail address. Please remember that this e-mail address has to be the same as the one you defined in your personal settings.
To create a new subscriber, please click on “Subscriber Management -> Create Subscriber”.

Abb. 3.3.1 - Abonnenten anlegen (Beispieleingaben)
Here you may fill in all of the subscriber's data that you have. If you have more information than what appears in the preinstalled fields, you may define new fields in your database designer, where all fields are defined. Please read chapter XX, “Database Designer.”
Please enter the e-mail address of your subscriber here.
Available mailing lists
Every created mailing list is listed here. The subscriber may be related to one or more mailing list(s). This relation defines which newsletter will be sent to this subscriber.
Password
You may define or change a password for your subscriber here. It has to be nearly six characters long, and must combine numbers and letters.
Format
Please choose the format for your newsletter. It may be sent as textual, HTML, or HTML & textual e-mail.
Anrede / Name / Vorname
Here you must fill in all the information you have about the subscriber.
After finishing your entries, click on the "speichern"-button at the end of this view. The following status report will be shown:
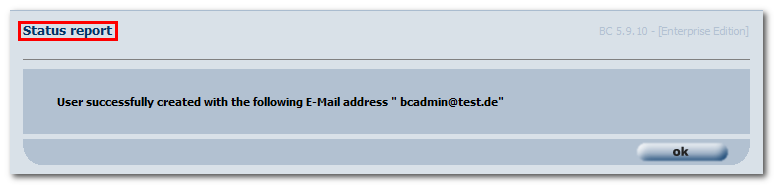
Abb. 3.3.2 - Abonnent angelegt (mit Beispieleingaben)
You may now search your subscriber database for a special subscriber. Please click on “Subscriber Management -> Edit Subscriber” and enter all or parts of the e-mail address in the field “search string”. Click on "search" and you will get the following result:
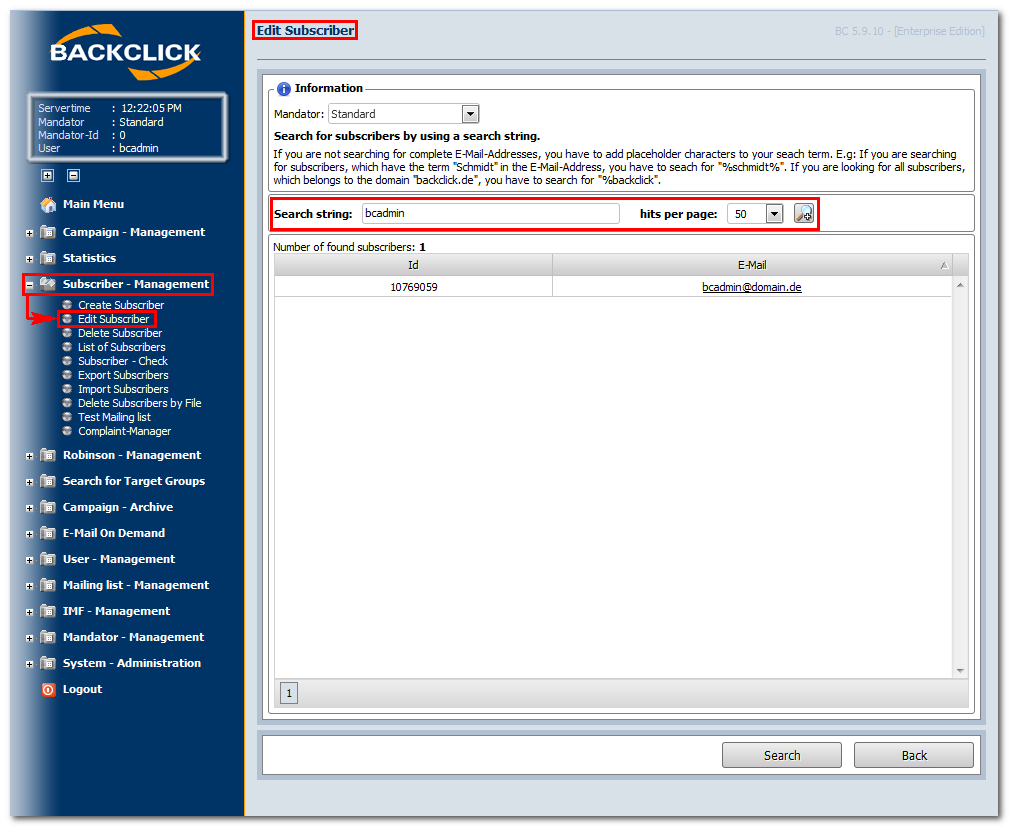
Abb. 3.3.3 - Abonnenten suchen
A second click on the e-mail address shown will open the dataset of the subscriber. You may repeat this action as often as you wish, with different e-mail addresses.
 = By clicking on this symbol you will open the expanded string search. The more information you have, the more precise the results will be. The following options are available:
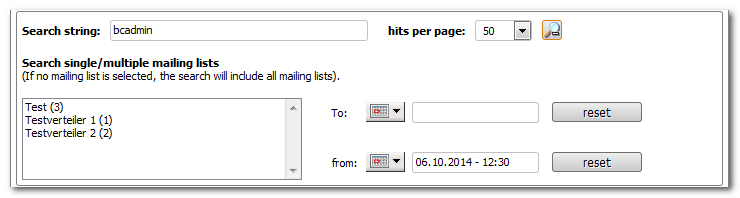
Abb 3.3.4 - Erweiterte Suche nach Abonnenten
For more information on working with a subscriber's data, see chapter Arbeiten mit Abonnentensätzen.